
 I recommend you UnHackMe - Ultimate Malware Killer for fast malware removal:
Free Download Fully Functional 30-day Trial. No credit card is required.
Reviews. EULA. Privacy Policy. Uninstall.
What is WINDOWS SHELF SERVICES?
The main purpose of WINDOWS SHELF SERVICES is to display ads on your PC and to hijack your browser by changing its settings.
Today we will find out what is WINDOWS SHELF SERVICES, how it works and how to delete WINDOWS SHELF SERVICES from your computer.
WINDOWS SHELF SERVICES usually infiltrates your computer while being downloaded in a bundle with a popular hacked programs or while being included in downloaded file with a bunch of other trojans.
WINDOWS SHELF SERVICES causes the great problems for you, such as replacing your browser starting page with malicious one, browser search redirecting, changing security settings and allowing popup advertisements to show up.
WINDOWS SHELF SERVICES virus accomplishes this tasks by registering virus process in startup or by automatically launching malicious sites.
You have 2 ways to remove WINDOWS SHELF SERVICES:

![]() 1. Remove Automatically.
1. Remove Automatically.
![]() 2. Remove Manually.
2. Remove Manually.
Why I recommend you to use an automatic way?
- You know only one virus name: "WINDOWS SHELF SERVICES", but usually you have infected by a bunch of viruses.
The UnHackMe program detects this threat and all others. - UnHackMe is quite fast! You need only 5 minutes to check your PC.
- UnHackMe uses the special features to remove hard in removal viruses. If you remove a virus manually, it can prevent deleting using a self-protecting module. If you even delete the virus, it may recreate himself by a stealthy module.
- UnHackMe is small and compatible with any antivirus.
- UnHackMe is fully free for 30-days!
Here’s how to remove WINDOWS SHELF SERVICES virus automatically:
STEP 1: Install UnHackMe (1 minute)
STEP 2: Scan for malware using UnHackMe (1 minute)
STEP 3: Remove WINDOWS SHELF SERVICES virus (3 minutes)
So it was much easier to fix such problem automatically, wasn't it?
That is why I strongly advise you to use UnHackMe for remove WINDOWS SHELF SERVICES redirect or other unwanted software.
How to remove WINDOWS SHELF SERVICES manually:
STEP 1: Check all shortcuts of your browsers on your desktop, taskbar and in the Start menu. Right click on your shortcut and change it's properties.
You can see WINDOWS SHELF SERVICES or another web site at the end of shortcut target (command line). Remove it and save changes.
In addition, check this command line for fake browser's trick.
For example, if a shortcut points to Google Chrome, it must have the path:
C:\Program Files (x86)\Google\Chrome\Application\chrome.exe.
Fake browser may be: …\Appdata\Roaming\HPReyos\ReyosStarter3.exe.
Also the file name may be: “chromium.exe” instead of chrome.exe.
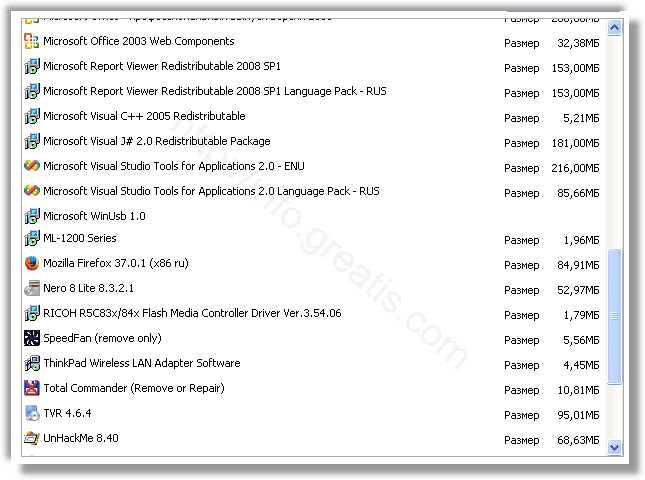
STEP 2: Investigate the list of installed programs and uninstall all unknown recently installed programs.
STEP 3: Open Task Manager and close all processes, related to WINDOWS SHELF SERVICES in their description. Discover the directories where such processes start. Search for random or strange file names.
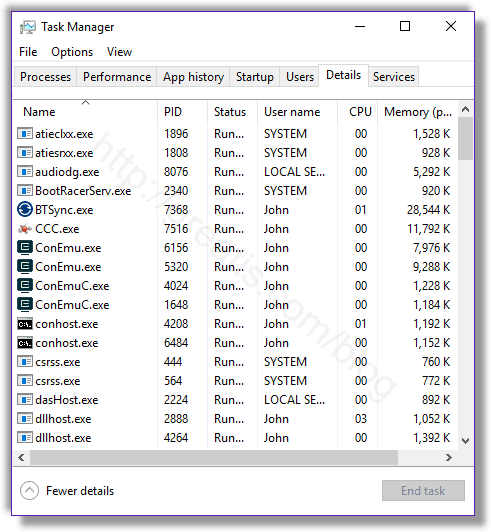
Remove WINDOWS SHELF SERVICES virus from running processes
STEP 4: Inspect the Windows services. Press Win+R, type in: services.msc and press OK.
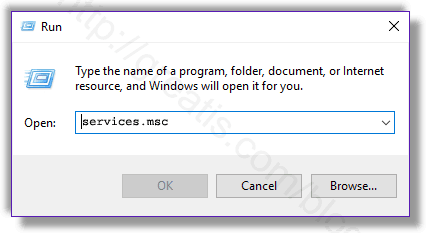
Remove WINDOWS SHELF SERVICES virus from Windows services
Disable the services with random names or contains WINDOWS SHELF SERVICES in it's name or description.
STEP 5: After that press Win+R, type in: taskschd.msc and press OK to open Windows Task Scheduler.
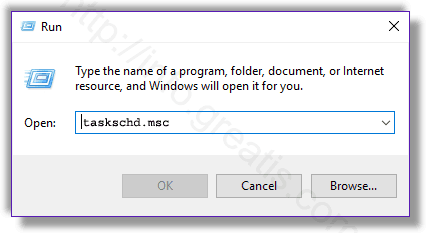
Delete any task related to WINDOWS SHELF SERVICES. Disable unknown tasks with random names.
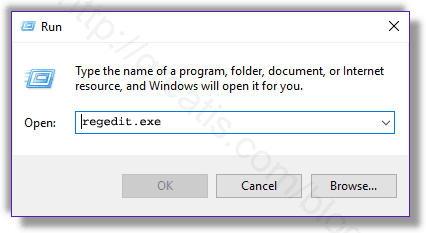
STEP 6: Clear the Windows registry from WINDOWS SHELF SERVICES virus.
Press Win+R, type in: regedit.exe and press OK.
Remove WINDOWS SHELF SERVICES virus from Windows registry
Find and delete all keys/values contains WINDOWS SHELF SERVICES.
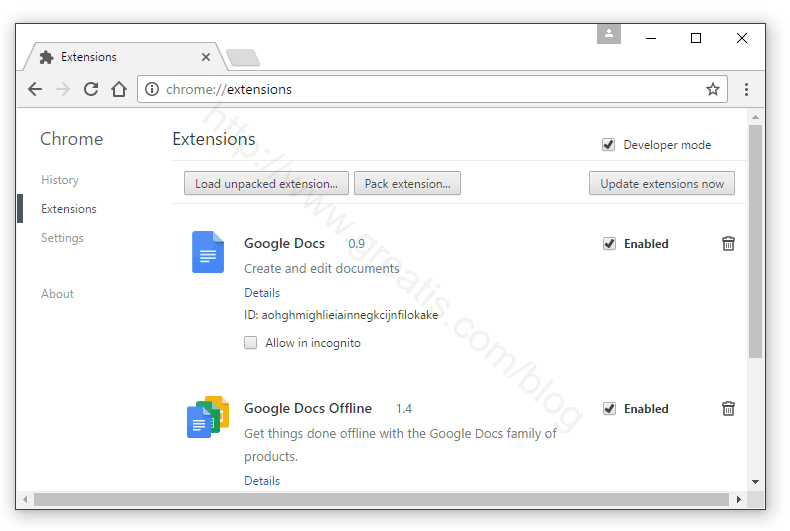
STEP 7: Remove WINDOWS SHELF SERVICES from Google Chrome.
STEP 8: Remove WINDOWS SHELF SERVICES from Internet Explorer.
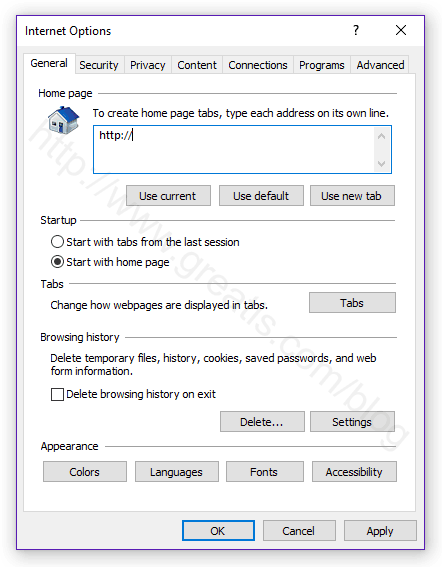
Set Internet Explorer Homepage
STEP 9: Remove WINDOWS SHELF SERVICES from Mozilla Firefox.
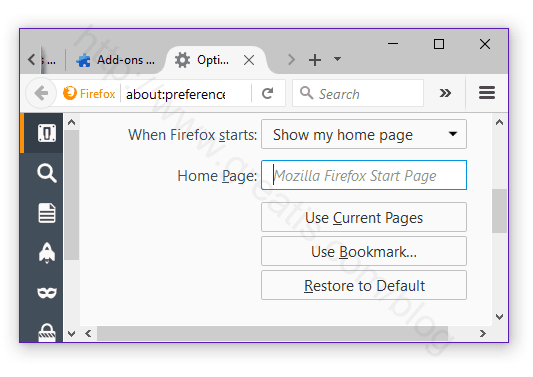
Change Firefox Home Page
STEP 10: And at the end, clear your basket, temporal files, browser's cache.
But if you miss any of these steps and only one part of virus remains – it will come back again immediately or after reboot.